No Products in the Cart
Connecting a projector to a computer is a common practice. In this guide, we will introduce three methods to connect a projector to a computer.
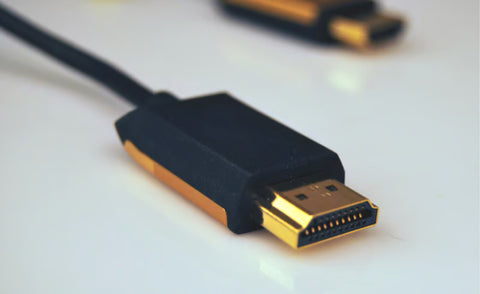
Step 1: Plug one end of the HDMI cable into the HDMI port of your computer.
Step 2: Plug the other end of the HDMI cable into the HDMI port of the projector.
Step 3: The projector will automatically detect the signal from the computer and display the content on the computer screen. To explore additional display options, you can press the "Windows + P" keys.

Step 1: Plug the VGA cable into the VGA port of your computer.
Step 2: Plug the other end of the VGA cable into the VGA port of the projector.
Step 3: Connect the audio output interface of the computer to the audio input interface of the projector, then it can transmit the audio signal.

This method is suitable for projectors with wireless mirroring functions.
Step 1: Make sure your computer and the projector are connected to the same Wi-Fi network.
Step 2: Enable Wireless Mirroring on the projector.
Step 3: Enable Wireless Mirroring/Casting on your computer. For example, on Windows 10, you can use the "Cast Screen" feature, or on macOS, you can use the "AirPlay" feature.
Step 4: Select the computer’s wireless signal on the projector and connect. Please select the right input signal on the projector. Besides, ensure the output mode is supported on the projector.
Note: The availability of these connection methods may vary depending on the specific projector and computer models.
By following these simple steps, you can easily connect your projector to a computer and enjoy an enhanced visual experience.